Showing posts with label Crafting with the Kids. Show all posts

Sunday, September 30, 2012

Truly Local Honey

This Summer I shared a few photos of my favorite farm stand right down the road from where we vacationed in Massachusetts.  Beyond the yummy tomatoes and sweet corn, what captured my heart was the fact that it was an honor stand.  Such a good old fashioned treat to visit each day while on vacation.  We found a handful of honor stands while vacationing this summer and they all charmed me.
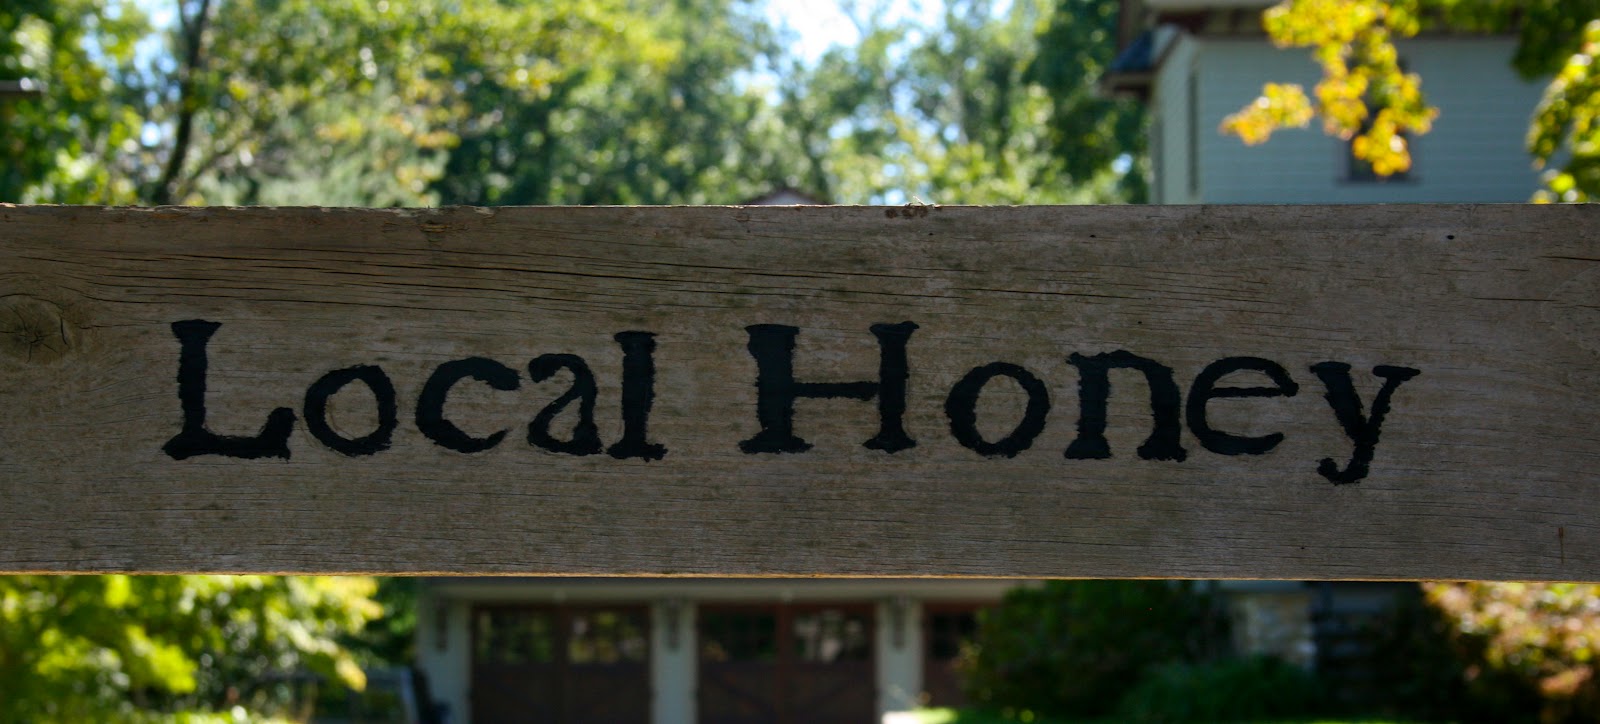
But, I must admit, I have a new favorite.  It is this adorable honor stand my husband and son built a few weeks ago to sell their homegrown honey.  They have brought a little of that old fashioned charm we enjoyed so much this summer, back to New Jersey.  Lemonade stands are a common sight on our street, but a honey stand is not something you usually come across in a residential neighborhood!
The neighbors have enjoyed watching our bees this past year 
and have all been anxious to get a taste.
They are my son's best customers.
And I will say, everyone has been "honorable" so far.  Everytime 
a jar or two disappears, my son finds money in the cigar box.  
Needless to say, everyone is quite charmed by his little honor stand. 


Tuesday, September 11, 2012

Tiny Treasures

I had to pass on a local estate sale this weekend because the line was way too long and I was short on time.  Luckily, the thrift shop I peeked in on the way home had this group of tiny treasures was just waiting for me.  It has been many years 
since I last bought a piece of doll house furniture.
But, I just love white porcelain pitchers and wash basins.
So fun to have found a "mini me" version of one of my favorites.  It may be time to pull out my old dollhouse and give it a vintage decorating makeover.  I will keep you posted.....

Linking with: Miss Mustard Seed
Feathered Nest Friday at French Country Cottage
Thrifty Love at Caps Creations


Wednesday, August 29, 2012

Simple Summer Fun

While on vacation, we've been enjoying playing board games at night.  Some friends came to visit and introduced us to Bananagrams.  It has quickly become a new family favorite. It is very similar to Scrabble, but without a game board and it moves along quickly.  It's a great after dinner game and my 6 year old has even been using the letter tiles to work on her spelling during the day.  But, I couldn't resist sharing these pictures of our second favorite game this summer-good old fashioned checkers.
We discovered this homemade checkerboard painted on
 the outdoor picnic table and it has kept us busy.
  
So simple and charming.

Linking With:


Wednesday, April 4, 2012

Crafting with the Kids~"Fancy" Easter Eggs


With a 5 year old in the house, there is an egg-stra (had to do that) lot of excitement around our house for the arrival of the Easter Bunny.  The kids insisted we make "fancy" eggs, so last weekend we tried out a few techniques.


One of the novelty fabrics in my stash had these cute flying bunnies.  I cut out the bunnies with a scalloped flower die and let the kids coat the back and front of each shape with modge podge.
Just enough to coat each side.
Super cute!  Super easy!  I like the contrast of the yellow fabric against the white egg, but did paint a few eggs with acrylic paint just to add some color to the mix.  I think modge podge would probably smear the color on dyed eggs, so opted for paint.
And then we tried our hand at chalkboard paint.  3 coats of  paint on each egg (allow to dry between coats) gave a fabulous finish and I was really excited to let the kids get creative.  But, as you can see, it is tricky because they can't really handle the eggs without smudging them as they color. 
So we rinsed them off and started over.  It may be best to save the chalkboard paint eggs for a centerpiece project or perhaps write names on them and carefully place them in a display that won't be at the mercy of little fingers-of course that takes all the fun out of it!

Skip To My Lou


Momma Hens Coop


Friday, March 9, 2012

A Crochet Quick Fix


In third grade, my neighbor's grandmother taught me to crochet and a crafter was born.  I made everything and anything that could be created with the basic chain stitch and that my pets at the time (a dog and two cats) could wear.  I created blankets, scarves and even hats for my pets and they enjoyed wearing them.  By fifth grade I had moved onto needlepoint and never had a chance to learn any of the more advanced crochet stitches or techniques.


Years ago, when crochet flowers started showing up on hats, scarves and clothing I was determined to learn how to make crochet flowers.  I checked out books from the library, but couldn't find the time to re-introduce myself to crochet and figure out how to make these cuties.  One night when I was randomly cruising Etsy, I typed in "crochet flowers" and found a wonderful quick fix to tide me over until I can find the time for crochet.  My daughter enjoyed laying the flowers and petals out on a long sleeve T.  I sewed them down and then added some of my beloved blanket stitch to the collar.


With Spring right around the corner, we will have to find some more shirts!


ThriftyThursdayModernButton1 Thrifty Thursday Week 68

Tuesday, December 27, 2011

Crafting with the kids-No Bake Gingerbread Houses

It still 'Tis the Season of gingerbread, sweets and sticky fingers, so I thought I would share with you a cute craft project my kids did the last week of school. In our elementary school, both the Kindergarten and 4th grade undertake special gingerbread projects the week before Christmas.  With a kid in both Kindergarten and 4th this year, we were up to our ears in gingerbread houses.  But, with no baking involved, it was lots of fun.  So here are two fun options for creating a "no bake" gingerbread house.
The Kindergarten kids covered a small pint container(oj or half and half size) with frosting and then pushed graham crackers onto the sides to create the "gingerbread".  Then it was anything goes as they decorated with the candy of their choice.  The parents were invited in to help out and it was a nice chance to spend some time in the classroom.
The 4th grade project was more of an undertaking and was part of their math unit on perimeter and measurement.  Each kid was to plan out on graph paper the dimensions of their house and then build a cardboard model based on those measurements.  They had to draw diagrams of how they planned to decorate each side, create a key for the candy plan and then a shopping list (for mom) of candy needed.  They covered the entire house with frosting (2 cans in our case!) and then followed their decorating diagram to stick on the candy.  The last day of school, parents were invited to "walk down gingerbread lane" and view all the houses lined up on tables in the hallway.

Monday, December 12, 2011

Crafting with the Kids-Keepsake Ornaments

I have seen some beautiful ideas on the creative and vintage blogs I follow for filling the clear glass ornaments that are available at craft stores this time of year.  My favorites all feature narrow strips of paper, rolled and fed into the ornament so scattered bits and pieces of the images show.  I have seen beautiful ornaments filled with vintage paper, old song sheets and even a wedding invitation.  I wanted my version to be a keepsake ornament that I could make with my kids.  I wanted their doodles to be the images that would be featured in the ornament.  I cut long thin strips of scrapbook paper and let the kids write their names and doodle and draw on the back (white side).  I then had the kids curl the strips around a pencil (to help the paper along with it's job of circling inside the ornament).  Then the kids fed each strip of paper into the glass balls.


 For additional color and texture, you can glue ribbon to the backside of one of the scrapbook strips and the firmness of the paper will help the ribbon to hold a curled shape inside the globe.  The kids also punched out stars and christmas tree shapes that were small enough to fit inside.  The ornament can hold quite a few strips, so this will be an "ongoing" project this week to keep the kids busy.  Each is making their own keepsake ornament for our tree and then will decorate additional strips to be combined into one ornament for the grandparents.